In this blog, we explore practical tips to better understand how to improve your dental photography and examine how to successfully take a professional before and after photo in your dental practice.
Nothing quite captures the imagination like a powerful set of before and after images. Professionally taken, before and after photographs not only have the power to attract new patients, but they can also act as valuable tool to showcase your skillset.
Thankfully, photography is no longer an art reserved purely for the professional. With recent advancements in dental technology; it is now easier than ever to take colour corrected images, suitable for marketing purposes.
-1.png?width=1024&name=Untitled%20design%20(4)-1.png)
Patient Positioning
First and foremost, it is important to address the patients positioning. Typically, the location choice for dental photographs will be the dentist’s chair. Whilst this may seem a natural choice, it can unfortunately result in images which are inconsistent in quality. This is the result of the photographer compensating for the fact the patient is sat an angle which is not parallel to them.
Here are two ways you can overcome this difference in angulation:
- Lie the dentist’s chair completely horizontal
- Request the patient sits on the dental assistant’s chair (whilst the dentist sits on another chair to take the photograph)
Working in either of these ways minimises the amount of fatigue for the photographer. The second method has the added benefit of allowing the patient and photographer to work face to face, on the same linear plane. This in turn, minimises the risk of strain, and increases the chances the photo quality will be consistent.
Camera Positioning
Secondly, it is crucial to ensure that whatever device you are using to take your photos on, it is positioned identically (for both the before, and after photo). Even the slightest change of angle, can completely distort an image; and change the way a viewer sees the result of a treatment. There is little you can do to guarantee consistency regarding camera position; however as one might expect, if you and your patient are correctly positioned, then it follows that your chances for photo quality continuity are maximised.

Lighting
When considering how to take the best before and after photos, it is of paramount importance to acknowledge the necessity of a suitable lighting source:
“You can have the most expensive camera in the world, but without understanding the basic rules of using the light, you will be disappointed by the discrepancy between the expected image quality and the results”
Source: The light in dental photography. Viktor Scherbakov
Regardless of the equipment you decide to use, the lighting source you work with should ideally be one which is both consistent and adjustable. If you are working with a smartphone, the Smile Lite MDP fulfils both requirements, and provides full mouth lighting for professional before and after photographs.
If you are looking for more manoeuvrability of the camera (but still enjoy the flexibility of working with a smartphone), the Smile Lite Complete allows for consistent lighting conditions producing a professional result.
Diffusers and Filters
Photos taken using a harsh light source can result in images with increased contrast of shadows and light spots. Diffusors and filters can help to soften a harsh light source, and create a continuity which is ideal for before and after photos.
The purpose of a diffusor is to soften the harsh light from a smaller light source, which helps to create a softer, more natural result (ideal for dental photography).
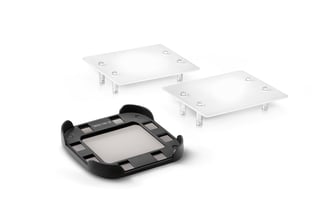
If you choose to work with a smartphone, the Smile Lite MDP provides the option of working with magnetically attachable diffusers. The filters attach to the side lights and have the added benefit of highlighting the surface texture of the teeth.
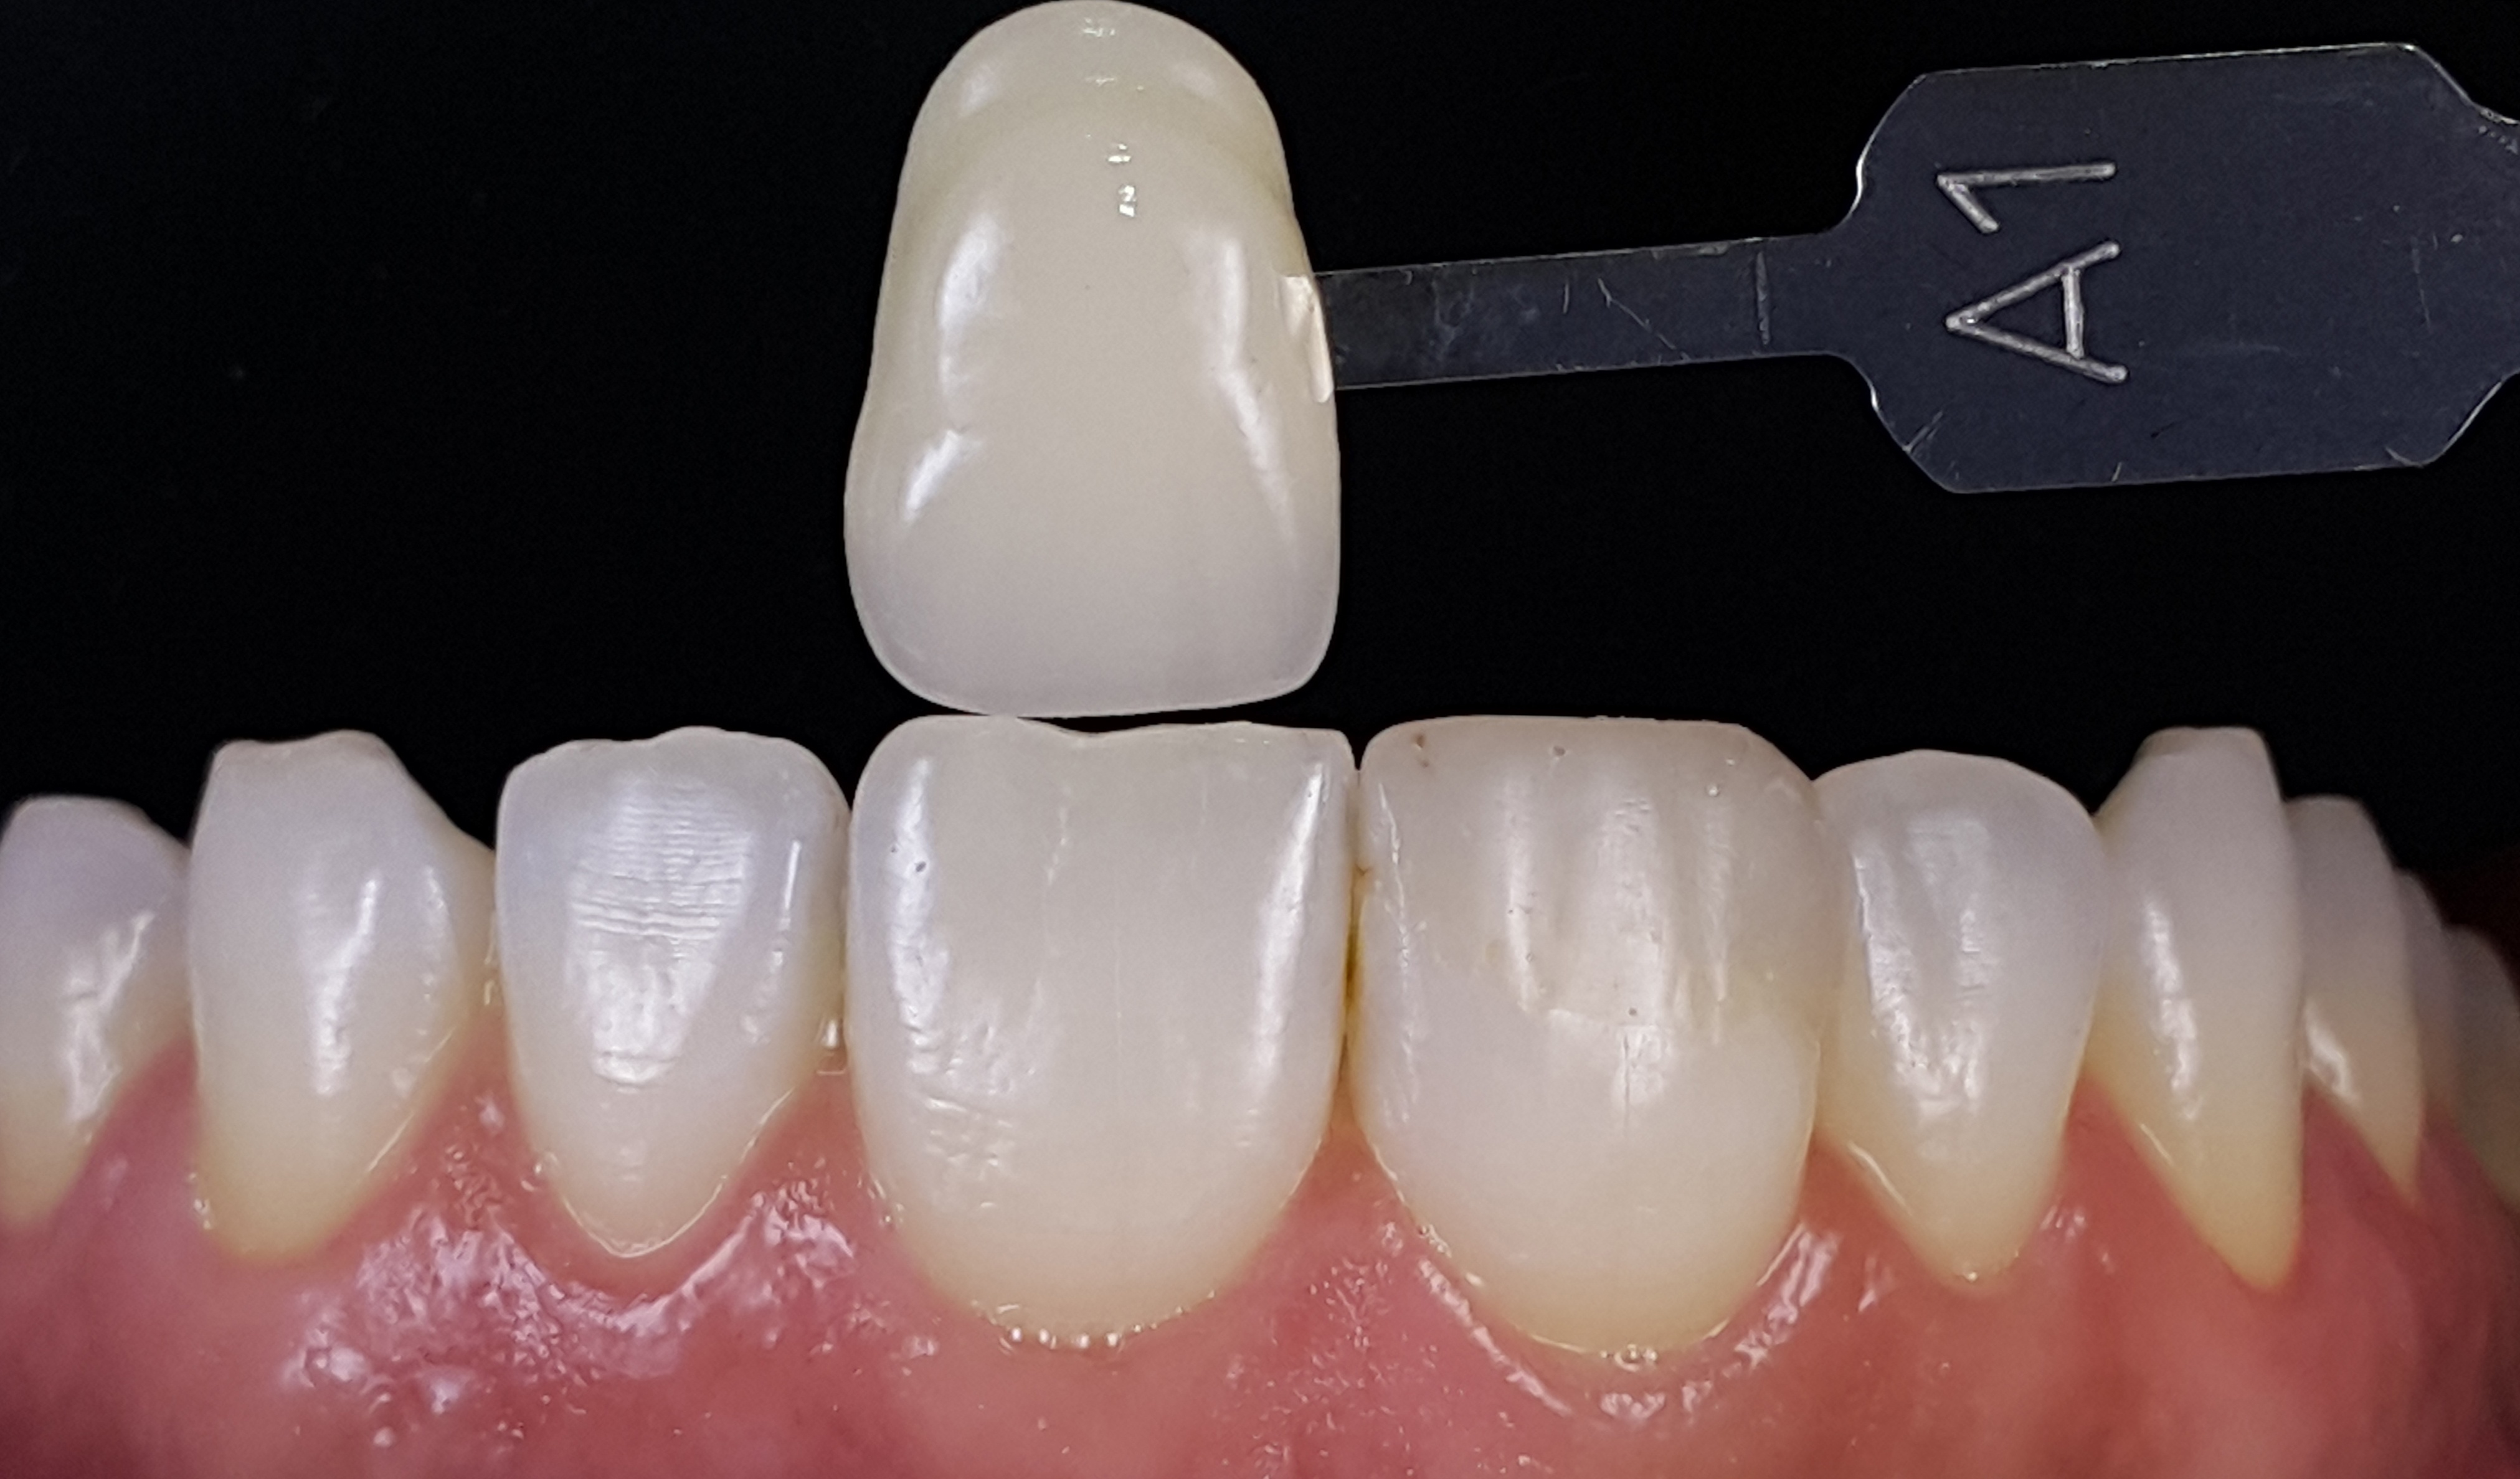
The Smile Lite MDP is also equipped with a polarising filter which can be attached magnetically to the central portion. The purpose of a polarising filter is to reduce glare, and to remove the reflection from the teeth. This in turn, helps to determine the value of shade selection and helps the viewer to see characterisations under the enamel layer.
Focusing on the tooth
The focus of any dental before and after photo will inevitably be the teeth. To ensure the eye is focused solely on the teeth, you will require contrastors which are ideally opaque and reflection free (ideal for photography). You will also require them to be gentle in the patient’s mouth, and flexible (for folding required in photography). The Flexipalette Form A meets these requirements; with the added benefit of being black in colour (obscuring the inside of the mouth, resulting in a more presentable image).
When using contrastors, it is essential to get the correct position to ensure a professional before and after photograph is achieved. For the optimum result, it is recommended to fold the contrastor to either a 30 or 45-degree angle. Tissue retractors can also assist to provide better visibility of the site to be photographed.
Communication with the patient
It is important to recognise that whilst the dentist’s surgery may be a familiar setting to you, for your patient it is very unfamiliar (especially where photography is concerned). For this reason, it is vital to maintain a good dialogue with your patient; ensuring they feel involved and understand what is expected of them throughout the process. To further optimise your chances of getting a better before and after photograph, it is recommended to practice any required poses before taking any shots. This will not only make the patient more comfortable, but also save time and prevent any potential frustration or fatigue.
Mobile Dental Photography
Before and after photographs are a powerful marketing tool which can attract new patients and showcase the dental work you can do. Professional photography is often costly, and can be somewhat intimidating. Smile Lite MDP is a great tool to take professional looking photographs whatever your skill level. Revolutionise your practice today!
To find out more about Smile Lite MDP or to request a demo call us on +44 (0) 1943 60 50 50 or email sales@optident.co.uk