As patients shop around for aesthetic treatments including tooth-whitening, quality case photographs on your website and social media can be powerful assets.
A well taken photo sets you ahead of the rest; giving reassurance to the patient that you are trustworthy, professional and deliver aesthetically pleasing results. Whether you promote yourself this way, or simply keep photographs for reference purposes, nuances in the hue and characterisation of the dentition provide essential information, particularly during the shade taking process – thus ensuring a great result. Much of this comes down to a reliable source of light and a good camera.
In this blog, we cover tips on how to successfully take a shade prior to treatment, what tools are available for taking a good clinical photograph, and explain how the Smile Lite MDP, invented by Professor Louis Hardan for Smile Line, is a handy method for easy, professional photography in the surgery.
What are the best methods for shade taking?
The ability to measure the hue, value and chroma of the tooth makes for accurate shade taking. Hue is the colour shade and is represented by A, B, C or D on the Vita shade guide. Value is the amount of light returned from an object, and chroma is the hue intensity. Reading the characteristics of the teeth in natural light is a widely recommended part of the process.
Vimal K Sikri’s article: "Color: Implications in dentisty"1, suggests following these 7 steps to achieve the best shade taking result:
- The patient should be viewed at the eye level so that the most colour-sensitive part of the retina will be used.
- Shade comparison should be made under different lighting conditions. Normally, the patient is taken to a window and the colour is confirmed in natural daylight after initial selection under incandescent and fluorescent lightening.
- The teeth to be matched should be clean.
- Shade comparison should be made at the start of the patient visit.
- Brightly coloured clothing should be draped and lipstick should be removed.
- Shade comparison should be made quickly, with the colour samples placed under the lip directly next to the tooth being matched.
- The eye should be rested by focusing on a grey-blue surface immediately before a comparison, since this balances all the colour sensors of the retina and resensitises the eye to the yellow colour of the tooth.
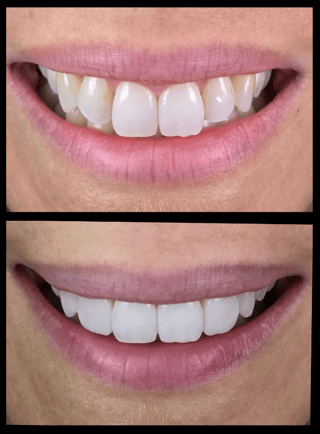
Lateral incisors restored on both sides with direct composites. Before and after photos were taken with iPhone 7 Plus, Smile Lite MDP with side lights and diffusers. Photo courtesy of Monik Vasant.
What are the best methods for dental photography?
When considering the options and methods available for good dental photography, you may ask: How much time and money do we have to spend? A DSLR camera offers high quality, high resolution images; although a DSLR camera can incur a large financial outlay for the kit and accessories.
Is the smartphone an alternative to the DSLR camera?
As smartphone cameras continue to evolve, their accessibility and user friendly design is already proving a hit in the surgery. Many dental professionals see smartphones as an effective replacement to the DSLR as they are lightweight, convenient and provide a high resolution photo with a good level of detail.
Creating the best lighting
As light varies throughout the day and from room to room, setting up the light environment with a DSLR takes careful preparation. Understanding aperture, ISO and white balance is essential to get the best results. Additionally, the lighting conditions need to be exactly replicated when setting up the final photo on completion of the treatment.
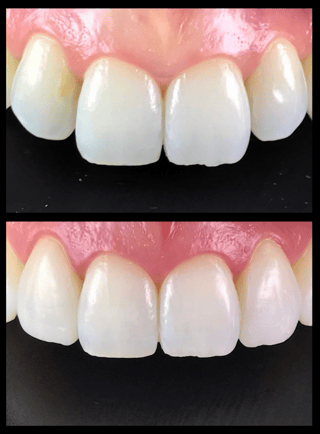
Lateral incisors restored on both sides with direct composites. Before and after photos were taken with iPhone 7 Plus, Smile Lite MDP with side lights and diffusers. Photo courtesy of Monik Vasant.

Use a consistent light source
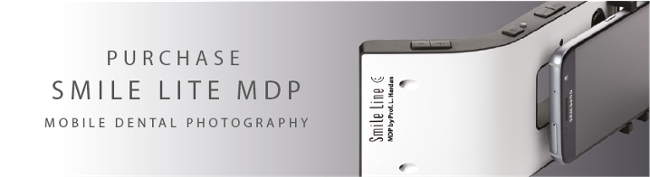
To capture the hue, value and chroma of the tooth easily, the Smile Lite MDP, short for mobile dental photography, is an effective tool designed for use with your smartphone. It has a light temperature of between 5,500 and 6,600 Kelvin; pure daylight, and has been designed specially to fit onto any size smart phone with its universal attachment.
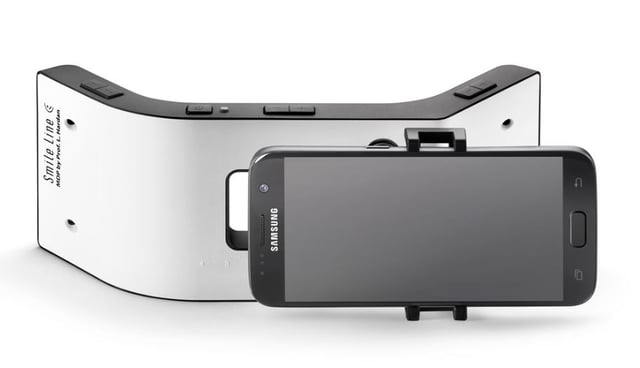
The MDP, short for mobile dental photography, illuminates both the anterior and posterior zones and creates a consistent lighting environment, regardless of where you are in the surgery or what time of day it is. It requires no manipulation of aperture, white balance or ISO. Easy to use filters can be attached magnetically, allowing the user to further experiment with light and shadow.
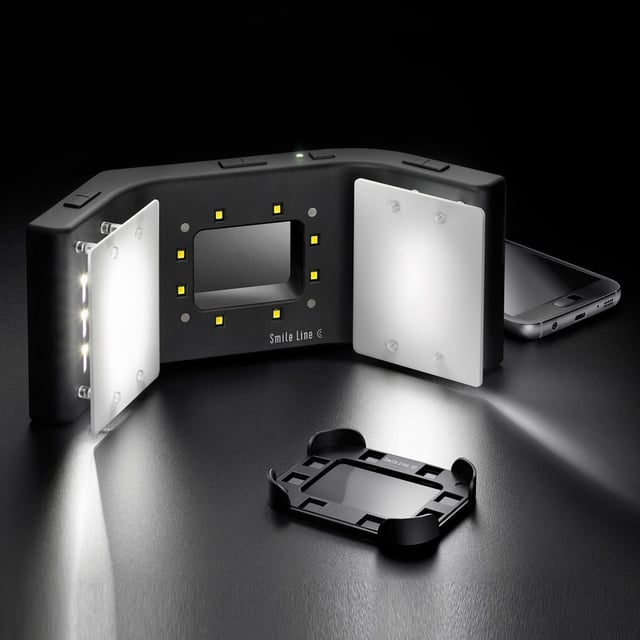
The polarising filter removes reflections to help determine the value of shade selection and reveals characterisations under the enamel layer. The two lateral diffusors soften the light and give better visibility of surface texture.

Accessories for the perfect photo
The use of cheek retractors, buccal mirrors, occlusal mirrors and contrastors all contribute to creating an excellent photograph.
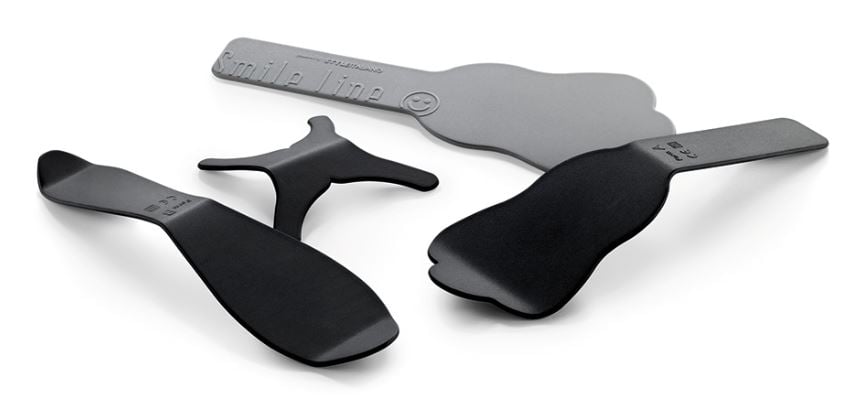
Flexipalette contrastors from SmileLine.
Time is precious
As aesthetically focused patients increase the demand for digital images, tasks such as recording, documenting, and uploading photos, not forgetting a process for obtaining and storing patient consent documentation, can be easy to manage with the right planning.
In Digital dental photography. Part 2: purposes and uses2 I. Ahmad states: “A standard release form stating the intended use of the pictures can readily be drawn up, and when signed by the patient, should be retained in the dental records. A crucial point worth remembering is clearly stating the 'intended use' of the images.”
Time is a precious commodity none of us can buy more of, and to join in on the action, a quick solution that offers quality results may be the way forward for many clinicians. The MDP, hand in hand with a smartphone, provides just that.
“Today in my opinion, dental photography is mandatory in every dental office; for the communication with a patient, with the lab, and of course for your own patients’ documentation! Smile Lite MDP has reached such a level of simplicity that it would be a pity to do without it.”
Prof. Louis Hardan, Inventor of Smile Lite MDP.
To request a practice demonstration, to buy, or for more information on the Smile Lite MDP, call the Optident sales team on 01943 605050, email sales@optident.co.uk, or visit www.optident.co.uk.
References:
1 - Sikri V, Color: Implications in dentistry, J Conserv Dent. 2010 Oct-Dec; 13(4): 249–255. doi: 10.4103/0972-0707.73381
2 – Ahmad. I, Digital dental photography. Part 2: purposes and uses, 1, British Dental Journal, 2009, volume 206, 459-464.